

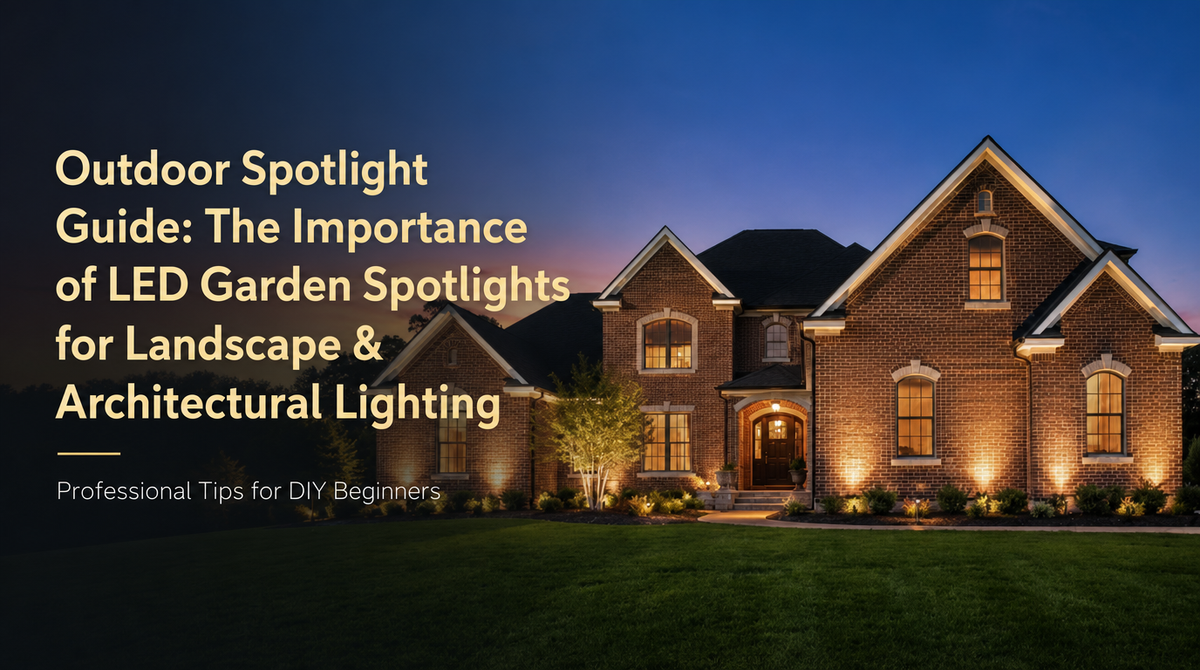
A Japanese maple is the easiest tree in the yard to light badly. It is small, it is close to the house, and the instinct is to push a spotlight in at the base of the trunk and point it straight up. What you get is a bright patch of bark and a dark canopy — the opposite of the tree. This is how to do it the other way round, and the same steps work for any tree; the maple is just the one where they show most.
The fixture is a 5 W low voltage spotlight on a stake, wired into the same 12 V run as the path lights. If you are still planning the run, Plan my yard counts a spotlight per tree — two for a wide one — and the install guide is the wiring.
Step 1 — Decide where you will see it from
A lit tree has a front. It is the side you see from the kitchen window, or from the walk, or from the street as you turn in. Pick one. The light goes on that side of the tree, or slightly round from it, so the lit face of the canopy is the face you look at. A light staked on the far side gives you a silhouette, which can be beautiful and is a different picture.
Step 2 — Stake it out from the trunk, not against it
This is the one that matters. Against the trunk, the light hits bark at point-blank range and the canopy gets whatever leaks past. Move the stake out, toward the edge of the canopy — for a maple, somewhere between a third and half of the way from the trunk to where the outer leaves end — and the beam can open up before it reaches the leaves.
Find the spot at night, with a flashlight. Stand where the stake would go, hold the flashlight at ground level and point it up into the canopy, and move until the light fills the leaves rather than the trunk. That is where the stake goes. Push it in by hand; a stake hammered into a root bends, and a bent stake is a light that leans.
Step 3 — Aim into the canopy, not up the trunk
Loosen the head and tilt it so the beam enters the underside of the canopy at an angle and leaves through the top. On a maple that means aiming at the branching a little above where the trunk splits, not at the trunk itself. The leaves are what you want lit; they are translucent, and light coming through them from below is the whole reason to uplight a maple.
Check where the beam goes beyond the tree. Aim it onto the intended branches and foliage, away from windows and neighboring property, and reduce spill into the sky. Recheck the view from the street and nearby seating after dark.

Step 4 — Narrow or wide
The beam is set by the fixture or the bulb in it, and the choice is simple. A narrow beam for a tall, narrow tree, so the light climbs the trunk into the crown. A wide beam for a spreading tree, so the whole canopy catches it. A Japanese maple is a spreading tree: wide.
A warm color temperature can be a useful starting point for a red-leaved maple, but the result depends on the light source, the foliage and the surrounding light. Compare the actual fixture on the tree after dark and choose the effect you prefer.

Step 5 — Two lights beat one
One light on a spreading tree gives you one lit face and a hard shadow across the rest. A second light, staked about a quarter turn round the trunk from the first, fills that shadow and gives the tree depth. It does not need to be as strong; it is there to soften, not to compete. Two is the number for a mature maple. Three is almost never better than two.
Step 6 — Shield it
A spotlight you can see the bulb of from the street is glare, and glare reads as a badly lit yard no matter how good the tree looks. Use the hood or glare guard the fixture comes with, tilt the head so the bulb is hidden from the usual viewing angles, and then walk to the sidewalk and to the neighbors' side and look back. If you can see the source, turn it a little more. The tree should look lit from nowhere.
Step 7 — Confirm the mounting method
This guide uses a ground-staked spotlight. For lighting from above, choose a fixture and mounting system specifically approved for that installation. Do not assume that a ground-staked fixture can be attached to a tree. Check the exact product instructions before selecting a mounting method.
After the leaves fall
A maple in November is a different tree. The bare branching is its own picture, and the beam that filled the canopy in July now goes straight through it. Re-aim in late autumn — lower, more onto the structure of the branches — and again in spring. It takes a minute at the head of the fixture and is the difference between a tree that is lit all year and one that is lit for five months.
Three things that go wrong
- The stake at the trunk. Bright bark, dark leaves. Move it out.
- The beam through a window. Tilt until it clears — and check from inside the house, not just from the yard.
- Lighting every tree. One lit maple beside a dark lawn is a picture. Six lit trees is a car lot. Pick the one that deserves it.
Questions people ask
How do you uplight a tree?
Stake a low voltage spotlight on the ground out from the trunk — not against it — and aim it up into the underside of the canopy from the side you look at the tree from. Check it at night, move the stake until the light fills the canopy rather than making a bright patch on the bark, and hood it so it does not glare from the street.
How many spotlights do you need per tree?
One for a small or narrow tree. Two for a wide one, or for any tree you look at from more than one side — set about a quarter turn apart round the trunk, so the second light fills the shadow the first one leaves. More than two is rarely an improvement.
What beam angle is best for uplighting a tree?
A narrow beam for a tall, narrow tree, so the light climbs the trunk into the crown. A wide beam for a spreading tree like a Japanese maple, so the whole canopy catches it. The beam angle is on the fixture's or bulb's spec; narrow and wide is the whole decision.
How do you aim landscape spotlights?
At night, with someone at the window or on the walk telling you what they see. Loosen the head, tilt it so the beam enters the canopy from below and leaves it through the top — not into a window across the way — and tighten. Then walk round to the neighbors' side and check the glare.
Next
Spotlights — 5 W, warm white, on a stake, on the same 12 V run
Next: how to install low voltage landscape lighting


